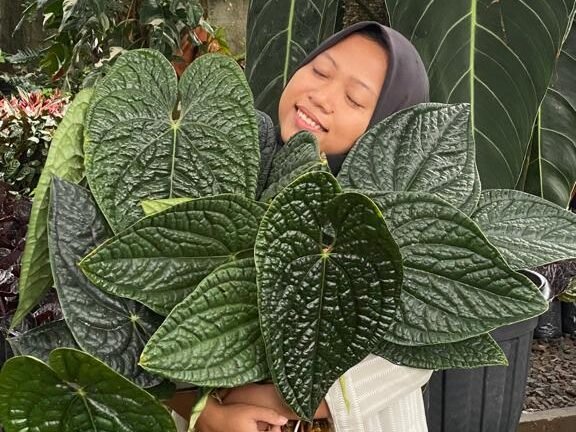
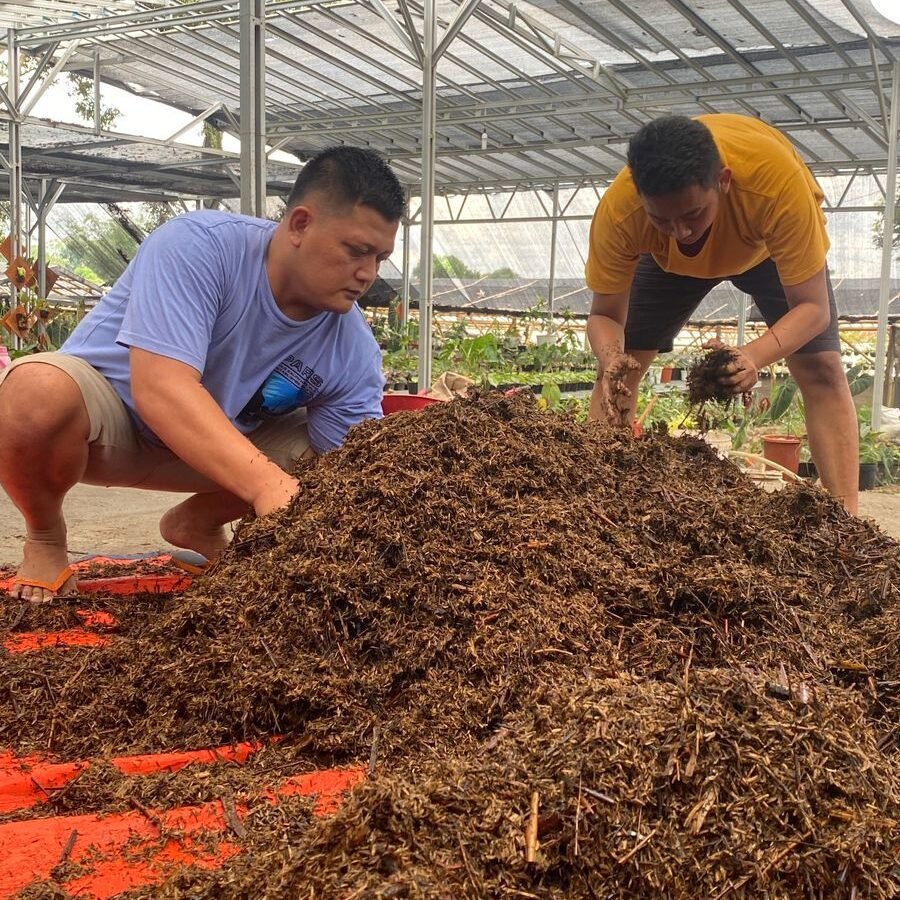
After a long flight, the journey takes a toll on both humans and plants. Just like us, imported plants need time to adjust to their new environment after being cooped up in boxes for days. In this guide, I’ll share my personal techniques for successfully acclimating imported plants.
Here’s what you’ll need:
- Superthrive: A vitamin solution for plants that promotes healthy root growth.
- Kitchen sink or large plastic box.
- Scissors.
- Sphagnum Moss.
- Net pots.
- 70 or 99% alcohol.
Step 1: Unwrap your plants
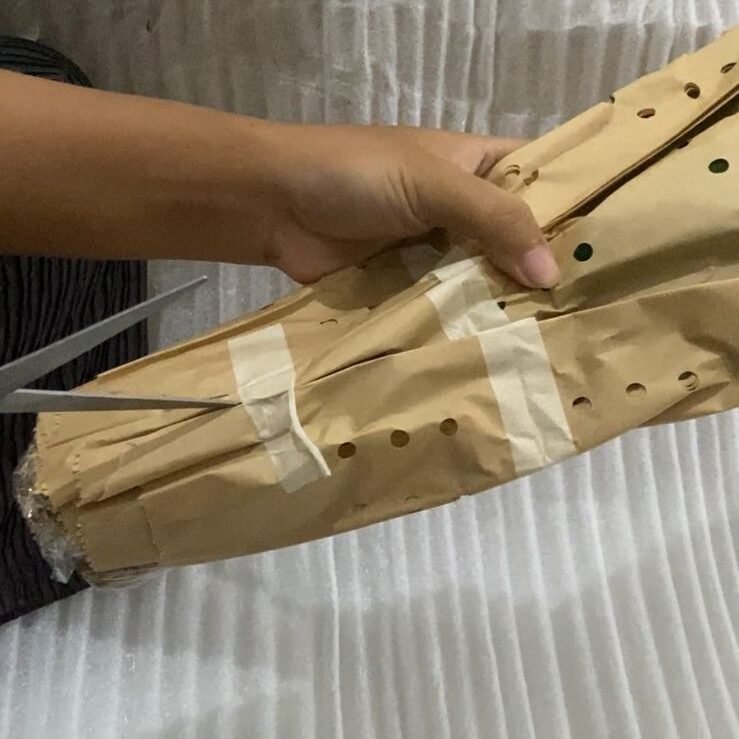
Upon arrival, carefully unwrap the plants. Typically, they are packaged bare-root in sphagnum moss or paper towels, with plastic and paper covering the leaves. Take caution not to damage the roots while removing the packaging materials.
Step 2: Check the roots
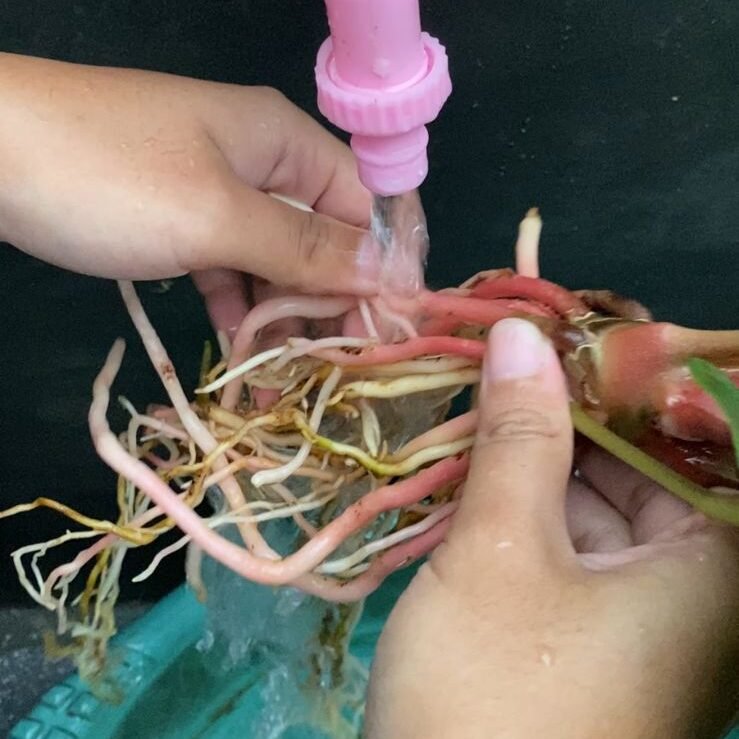
Inspect the roots of the plants. Some root casualties are expected, so don’t be disheartened. Trim off any rotten roots using scissors disinfected with alcohol to prevent the spread of rot to healthy roots. If a root is brown, flat, mushy, and emits an unpleasant odor, it’s rotten and should be cut off.
Step 3: Superthrive bath
Once the rotten roots have been removed, prepare a bath for your plants. Fill your kitchen sink with temperate water and add a capful of Superthrive. Place all the plants into the sink to allow them to rehydrate. Leave them submerged for approximately an hour.
Step 4: Prepare your media
While the plants are rehydrating, gather your potting supplies. For new imports, I recommend using Sphagnum Moss and Net Pots. Sphagnum moss maintains root humidity and facilitates rapid growth of new and strong roots. It is also a sterile medium without harmful chemicals. Thoroughly soak the sphagnum moss, ensuring it is completely wet, and then squeeze out excess moisture, leaving the moss lightly moist.
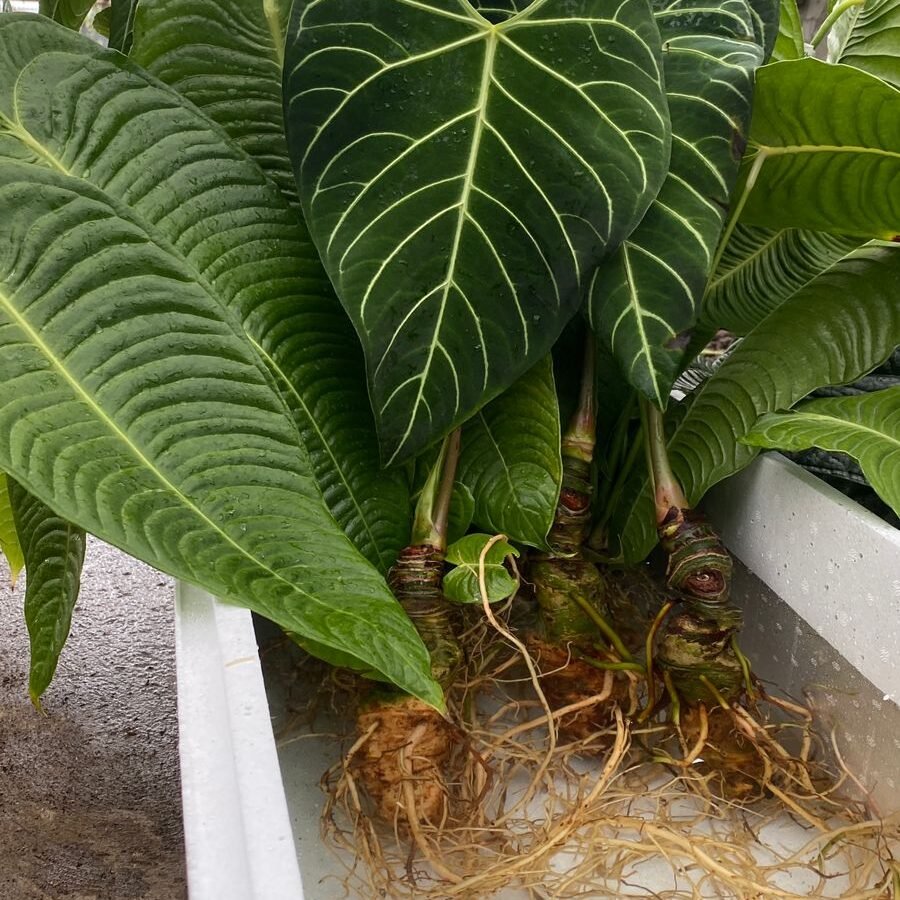
Step 5: Pot your plants
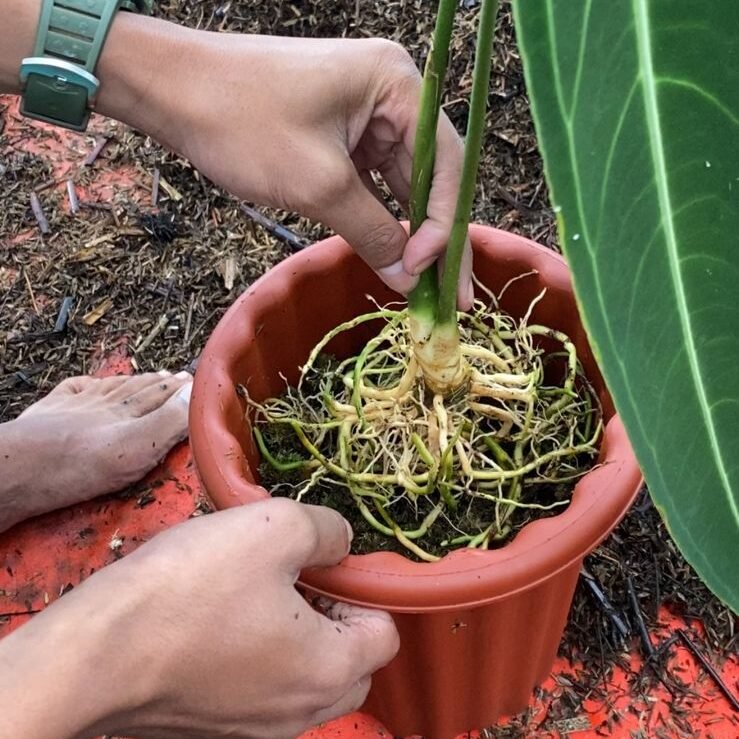
Take a net pot and place a small layer of moss at the bottom. Gently position your plant in the pot, ensuring the moss is packed tightly around the roots to reduce the risk of rot. Avoid loosely packed moss, as it can allow air in and lead to root rot.
Step 6: Maintain a humid environment
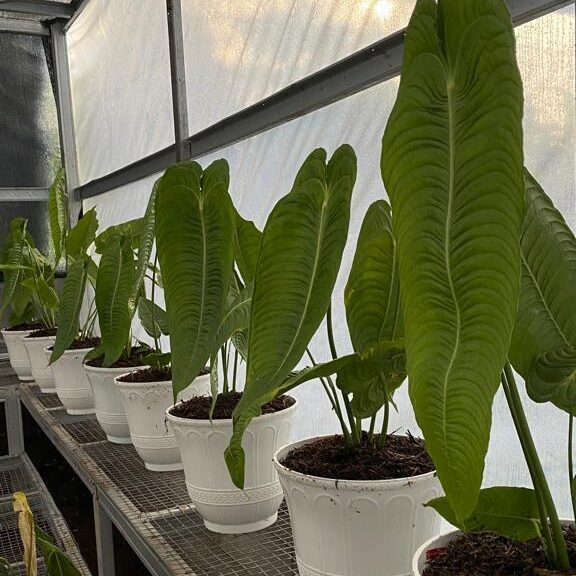
Considering the plants’ origin in a humid environment, it’s crucial to recreate similar conditions to promote their survival and growth. Place your potted plants in a clear plastic box or a greenhouse. If using a plastic box, remember to open it periodically to allow proper air circulation, which is essential for their well-being.
If you’re interested in building an Ikea Greenhouse, I have detailed instructions in my other blog posts. You can find more information and specific details on the Fabrikor wide cabinet by clicking here.
Step 7: Exercise patience
Acclimating imported plants is a gradual process that requires time and patience. Don’t expect immediate changes, such as new leaves or roots, within the first week. This process can take several weeks, and sometimes even months. Your plant will be ready when it begins to grow and establishes a healthy root system.
If you plan to ship these plants to someone else, ensure they are fully acclimated by waiting at least 1.5 months, or possibly longer. Rushing the process could jeopardize their survival during a second journey. Remember, the acclimation process is vital for the long-term health and success of your imported plants. By following these steps and allowing sufficient time, you’ll give your plants the best chance to thrive in their new home.